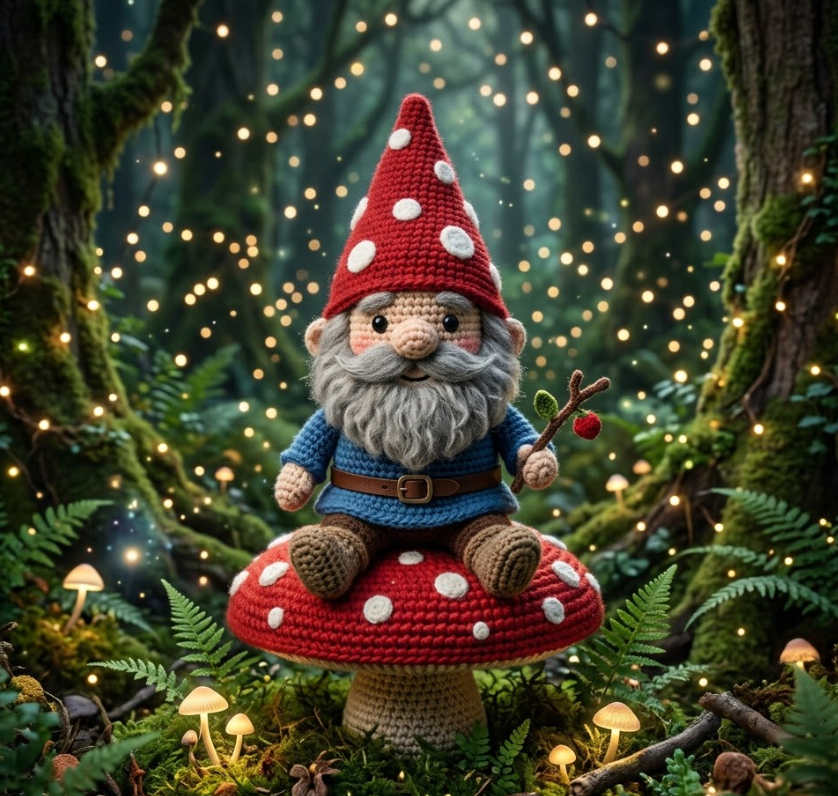
Whimsical Amigurumi Gnome: Free Crochet Pattern with a Mushroom Seat
Crochet your own charming amigurumi gnome with this free step-by-step pattern! Featuring a tall pointed hat and a cozy mushroom seat, this pattern is perfect for fairy garden decor, gifts, or seasonal displays. Keywords: amigurumi gnome pattern, free crochet gnome, gnome on mushroom, beginner amigurumi pattern.
Bu Yazımızda Neler Var :
Welcome to Inspire & Create! 🧶
Hi there, magical maker! We’re so happy to have you back for another fun project. Today’s creation is full of whimsy — a sweet little gnome perched on a mushroom, perfect for adding some enchanted forest charm to your shelf. Let’s get hooking!
How to Crochet an Amigurumi Gnome: Step-by-Step Pattern
What You’ll Need
Materials
- Beige or cream yarn (face area, hands)
- Colorful yarn for the hat and body (e.g., red, forest green, mustard)
- White or gray yarn (beard)
- Brown yarn (mushroom stem)
- Red or orange yarn with white accents (mushroom cap)
- 3.5mm crochet hook
- Polyester fiberfill stuffing
- Yarn needle
- Small piece of wire (optional, for hat posability)
Skill level: Beginner-friendly
Finished size: Approximately 5-6 inches tall (gnome only)
Step 1: Crochet the Body (Colorful Yarn — No Separate Head!)
Classic gnomes are typically made without a visible face — the beard and hat cover most of the head, so the body and head are often worked as one continuous piece.
- Round 1: 6 sc in magic ring (6)
- Round 2: inc in each st (12)
- Round 3: sc, inc repeat (18)
- Round 4: sc 2, inc repeat (24)
- Round 5: sc 3, inc repeat (30)
- Rounds 6-20: sc around (30) — 15 rounds even (this builds the tall, cone-like body shape)
- Stuff firmly as you go
- Round 21: sc 3, dec repeat (24)
- Round 22: sc 2, dec repeat (18)
- Round 23: sc, dec repeat (12)
- Round 24: dec around (6)
- Fasten off, close hole
Step 2: Crochet the Nose (Beige/Cream Yarn)
- Round 1: 5 sc in magic ring (5)
- Round 2: sc around (5)
- Stuff lightly, sc closed
- Sew to the upper-front of the body, about one-third of the way down from the top — this is the only visible “face” feature
Step 3: Crochet the Beard (White or Gray Yarn)
The beard is worked flat and attached, framing the nose and covering the lower face area.
- Ch 2, work a triangular shape in rows: start with 3 sc in 2nd ch from hook, inc each end every row for several rows until the triangle is wide enough to wrap around the lower portion of the body (typically growing to about 14-16 sts wide), then work even for 2-3 rows
- Fasten off
- For extra texture, add a fringe of yarn loops along the bottom edge of the beard using the loop/fringe technique, or leave the surface smooth for a simpler look
- Sew the beard onto the body just below the nose, draping it down to cover the lower portion of the body
Step 4: Crochet the Hat (Colorful Yarn — Tall Cone Shape)
- Round 1: 6 sc in magic ring (6)
- Round 2: inc around (12)
- Round 3: sc, inc repeat (18)
- Rounds 4-16: sc around (18) — 13 rounds even (this creates the tall, pointed gnome hat — you can adjust the height as desired)
- Round 17: dec around (9)
- Round 18: sc around (9)
- Round 19: dec, sc rest (then continue decreasing every round until you reach a small point)
- Continue decreasing every round until only 2-3 stitches remain
- Fasten off, leaving a small tail to close the tip
- If you’d like the hat to flop over at the top (a classic gnome hat look), insert a small piece of wire from the base partway up the hat, leaving the very tip wire-free so it can bend naturally
- Sew the hat onto the top of the head/body, positioned to overlap slightly with the top of the beard
Step 5: Crochet the Hands (Beige/Cream Yarn, Make 2)
- Round 1: 6 sc in magic ring (6)
- Rounds 2-3: sc around (6) — 2 rounds
- Flatten and sc closed, leaving unstuffed or very lightly stuffed for a soft, simple mitten-like hand
- Sew to the sides of the body, peeking out from under the beard area
Step 6: Make the Mushroom Seat
Mushroom Stem (Brown or Cream Yarn)
- Round 1: 6 sc in magic ring (6)
- Round 2: inc around (12)
- Rounds 3-9: sc around (12) — 7 rounds
- Stuff firmly, fasten off
Mushroom Cap (Red/Orange Yarn with White Accents)
- Round 1: 6 sc in magic ring (6)
- Round 2: inc around (12)
- Round 3: sc, inc repeat (18)
- Round 4: sc 2, inc repeat (24)
- Round 5: sc 3, inc repeat (30)
- Round 6: sc 4, inc repeat (36)
- Rounds 7-9: sc around (36) — 3 rounds (this creates the dome shape of the cap)
- Round 10: sc 4, dec repeat (30)
- Stuff lightly, fasten off
- With white yarn, embroider several small round dots scattered across the cap for the classic mushroom spot pattern
Assembly
- Sew the flat bottom of the mushroom cap onto the top of the stem
- The gnome can simply sit on top of the mushroom cap, or you can tack the bottom of the gnome’s body lightly to the cap to keep it secured in place
Step 7: Finishing Touches
- Weave in all loose ends
- Gently shape the beard and hat for a natural, relaxed look
- Optional: add a tiny embroidered or felt detail like a small flower or leaf to the hat brim
Tips for the Perfect Amigurumi Gnome
- This pattern is incredibly versatile for seasonal variations — switch the hat and body color to red and white for Christmas, orange and black for Halloween, or pastels for spring
- A floppy hat with wire support adds great character, but a stiff, upright hat is simpler for beginners and still looks adorable
- Gnomes made without faces are a beginner-friendly way to skip safety eye placement while still creating an expressive character
Thank you so much for crafting this whimsical little gnome with us today! We hope it brings a touch of forest magic to your home or fairy garden display. For more free patterns and creative inspiration, visit us at Inspire & Create | Bringing Imagination to Life. Happy hooking, and see you in the next tutorial! 🍄🧙
Keywords: amigurumi gnome pattern, free crochet gnome, gnome on mushroom, beginner amigurumi pattern, crochet gnome tutorial, amigurumi fairy garden, easy crochet gnome, handmade gnome gift