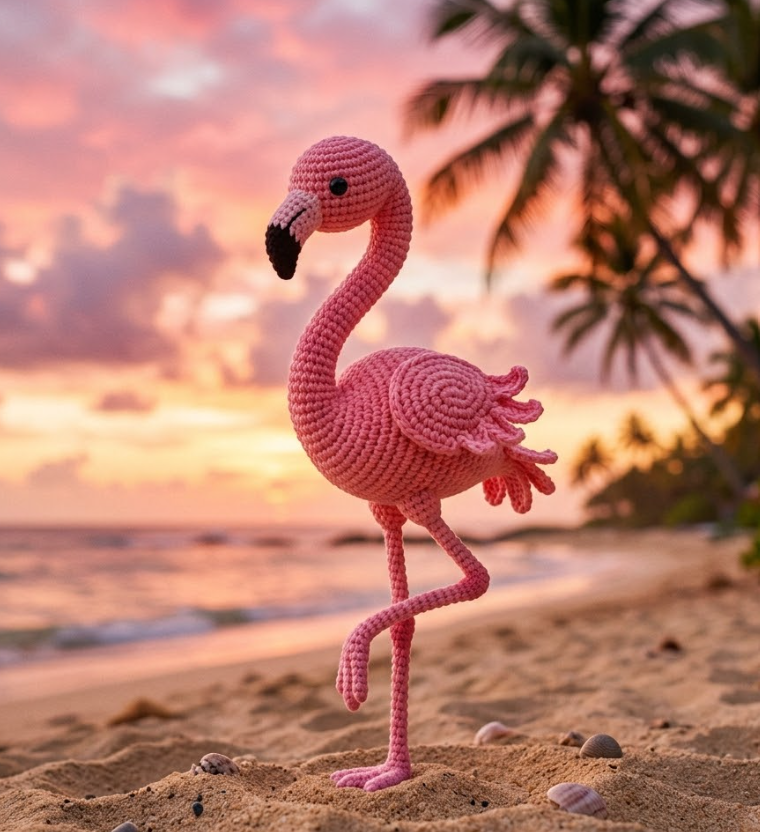
Tropical Amigurumi Flamingo: Free Crochet Pattern with Step-by-Step Instructions
Crochet your own elegant amigurumi flamingo with this free step-by-step pattern! Featuring a long curved neck and one-leg balancing pose, this pattern is perfect for tropical-themed decor and gifts. Keywords: amigurumi flamingo pattern, free crochet flamingo, tropical amigurumi, pink crochet animal.
Bu Yazımızda Neler Var :
Welcome to Inspire & Create! 🧶
Hi there, sunny-day maker! We’re so glad to have you back for another fun project. Today’s creation brings a splash of tropical color — an elegant little flamingo balancing gracefully on one leg. Let’s get started!
How to Crochet an Amigurumi Flamingo: Step-by-Step Pattern
What You’ll Need
Materials
- Pink yarn (body, neck, head, wings) — light pink and hot pink for two-tone effect, optional
- Black yarn (beak tip, eyes)
- Orange or yellow yarn (beak base)
- Thin wire or pipe cleaner (for neck and legs support)
- 3.5mm crochet hook
- Polyester fiberfill stuffing
- Safety eyes (small size)
- Yarn needle
Skill level: Intermediate (wire support makes this slightly more advanced)
Finished size: Approximately 6-7 inches tall
Step 1: Crochet the Body (Pink Yarn)
- Round 1: 6 sc in magic ring (6)
- Round 2: inc in each st (12)
- Round 3: sc, inc repeat (18)
- Round 4: sc 2, inc repeat (24)
- Round 5: sc 3, inc repeat (30)
- Rounds 6-13: sc around (30) — 8 rounds even (this forms the rounded body)
- Round 14: sc 3, dec repeat (24)
- Round 15: sc 2, dec repeat (18)
- Stuff firmly
- Round 16: sc, dec repeat (12)
- Round 17: dec around (6) — leave a small opening for the neck/head piece to attach later, or fasten off and sew the head separately
Step 2: Crochet the Neck and Head (Pink Yarn, Worked as One Piece)
The flamingo’s signature curved neck needs wire support for posability.
- Round 1: 6 sc in magic ring (6)
- Rounds 2-14: sc around (6) — 13 rounds (this forms the long neck — adjust length as desired)
- Round 15: inc around (12) — begin head shaping
- Round 16: sc, inc repeat (18)
- Rounds 17-19: sc around (18) — 3 rounds
- Insert safety eyes around round 18, spaced 6-7 sts apart
- Round 20: sc, dec repeat (12)
- Round 21: dec around (6)
- Before closing, insert a piece of wire or pipe cleaner through the entire neck piece, bending one end into a small loop to anchor inside the head
- Stuff around the wire as you go for a smooth, posable neck
- Fasten off, sew neck/head assembly to the top of the body, curving into an “S” shape
Step 3: Crochet the Beak (Black and Orange/Yellow Yarn)
- With orange/yellow yarn: Round 1: 6 sc in magic ring (6)
- Round 2: sc around (6)
- Switch to black for the tip:
- Round 3: dec, sc 4 (5)
- Round 4: sc around (5)
- Flatten and sc closed
- Sew to the front of the head, with the beak curving downward (this is characteristic of flamingos)
Step 4: Crochet the Wings (Pink Yarn, Make 2)
- Ch 2, work a fan/teardrop shape in rows: 3 sc in 2nd ch from hook, inc each end every row for 3-4 rows (3→5→7→9 sts), then sc 1-2 rows even
- Fasten off
- Optional: add a few rows of hot pink or black yarn at the tips for a feather-tip detail
- Sew to the sides of the body, angled slightly back
Step 5: Crochet the Legs (Pink or Orange Yarn, Make 2) — Wire-Supported
- Round 1: 6 sc in magic ring (6)
- Rounds 2-14: sc around (6) — 13 rounds (long, thin legs)
- Insert a piece of wire through each leg before stuffing, bending a small loop at the top end to anchor inside the body and a small “foot” bend at the bottom
- Stuff lightly around the wire
- Flatten the bottom of each leg slightly and sc closed to form a simple foot shape
- Sew one leg securely into the bottom of the body (this will be the standing leg)
- The second leg can be bent at the knee and tucked up against the body in the classic one-leg-balance pose, then tacked in place with a few stitches
Step 6: Finishing Touches
- Weave in all loose ends
- Gently bend the neck into a graceful curve and shape the standing leg for balance
- Optional: add a few small black dots with embroidery thread for extra eye definition
Tips for the Perfect Amigurumi Flamingo
- If working with wire feels tricky, you can skip it and simply make the neck and both legs shorter and thicker so the flamingo can stand stably without support — a cute “chibi” style alternative
- Two-tone pink (lighter body, hot pink wing tips) adds a lovely realistic touch
- This pattern pairs beautifully with a small crochet palm leaf or tropical flower accessory
Thank you so much for crafting this elegant little flamingo with us today! We hope it adds a fun pop of tropical color to your space. For more free patterns and creative inspiration, visit us at Inspire & Create | Bringing Imagination to Life. Happy hooking, and see you in the next tutorial! 🦩🌴