Cozy Amigurumi Snowman: Free Crochet Pattern for Winter Decor
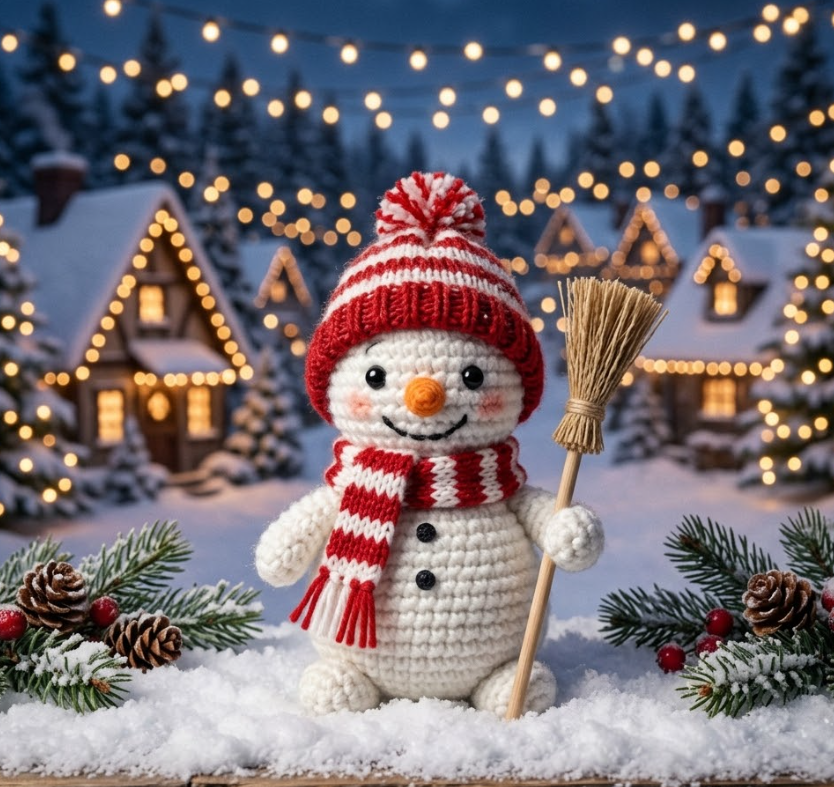
Crochet your own charming amigurumi snowman with this free step-by-step pattern! Featuring a tiny broom accessory and classic winter details, this pattern is perfect for holiday decor, gifts, or your handmade shop. Keywords: amigurumi snowman pattern, free crochet snowman, winter amigurumi, Christmas crochet pattern.
Bu Yazımızda Neler Var :
Welcome to Inspire & Create! 🧶
Hello again, festive maker! We’re so happy to have you back for another cozy project. Today’s creation brings all the winter charm — a sweet little snowman holding his very own tiny broom. Let’s bundle up and get hooking!
How to Crochet an Amigurumi Snowman: Step-by-Step Pattern
What You’ll Need
Materials
- White yarn (body, head)
- Orange yarn (nose/carrot)
- Black yarn (buttons, eyes, hat — or use a contrasting color for the hat)
- Colorful yarn (scarf — red, green, blue, etc.)
- Brown yarn (broom handle and bristles, or use a small twig)
- 3.5mm crochet hook
- Polyester fiberfill stuffing
- Safety eyes (small size)
- Yarn needle
- Black embroidery thread (coal buttons, mouth detail)
Skill level: Beginner-friendly
Finished size: Approximately 5 inches tall
Step 1: Crochet the Head (White Yarn)
- Round 1: 6 sc in magic ring (6)
- Round 2: inc in each st (12)
- Round 3: sc, inc repeat (18)
- Round 4: sc 2, inc repeat (24)
- Round 5: sc 3, inc repeat (30)
- Rounds 6-10: sc around (30) — 5 rounds even
- Insert safety eyes around round 7, spaced 7-8 sts apart
- Round 11: sc 3, dec repeat (24)
- Round 12: sc 2, dec repeat (18)
- Stuff firmly
- Round 13: sc, dec repeat (12)
- Round 14: dec around (6)
- Fasten off, close hole
Step 2: Crochet the Body (White Yarn) — Two-Tier Snowman Shape
- Round 1: 6 sc in magic ring (6)
- Round 2: inc around (12)
- Round 3: sc, inc repeat (18)
- Round 4: sc 2, inc repeat (24)
- Round 5: sc 3, inc repeat (30)
- Round 6: sc 4, inc repeat (36)
- Rounds 7-12: sc around (36) — 6 rounds even (this forms the wider bottom section)
- Round 13: sc 4, dec repeat (30)
- Round 14: sc 3, dec repeat (24)
- Rounds 15-18: sc around (24) — 4 rounds even (slightly narrower upper section)
- Round 19: sc 2, dec repeat (18)
- Stuff firmly as you go
- Round 20: sc, dec repeat (12)
- Round 21: dec around (6)
- Fasten off, close hole, sew to head
Step 3: Crochet the Carrot Nose (Orange Yarn)
- Round 1: 6 sc in magic ring (6)
- Round 2: sc around (6)
- Round 3: dec, sc 4 (5)
- Round 4: sc around (5)
- Round 5: dec, sc 3 (4)
- Stuff lightly, sc closed
- Sew to the center of the face, between the eyes
Step 4: Add the Coal Buttons and Mouth (Black Embroidery Thread)
- Embroider 3 small black French knots down the front of the body for buttons
- Embroider a curved smile made of small black French knots or backstitch below the nose
Step 5: Crochet the Top Hat (Black or Contrasting Yarn)
- Round 1: 6 sc in magic ring (6)
- Round 2: inc around (12)
- Round 3: sc, inc repeat (18)
- Round 4: sc 2, inc repeat (24)
- Rounds 5-8: sc around (24) — 4 rounds (this forms the tall part of the hat)
- Round 9: sc 2, inc repeat (32) — creates a brim flare
- Round 10: sc around (32)
- Fasten off, sew onto the top of the head, slightly tilted for a playful look
Step 6: Crochet the Scarf (Colorful Yarn)
- Ch 25 (adjust length as desired)
- Row 1: sc in 2nd ch from hook and in each ch across
- Rows 2-3: ch 1, turn, sc across
- Fasten off, leaving long tails at each end
- Add fringe to both ends using the fringe/latch-hook technique
- Wrap around the neck where the head meets the body, and tack in place with a few stitches
Step 7: Crochet the Arms (Brown Yarn — “Twig” Style, Make 2)
- Ch 8 (no turning, this forms a thin twig-like arm)
- Sl st back along the chain to reinforce
- Leave a long tail at the end for sewing
- Sew to the sides of the body at a slight upward angle
Step 8: Make the Mini Broom
- Take a small wooden dowel, toothpick, or piece of stiff wire (about 1.5-2 inches long) as the broom handle
- Wrap brown or tan yarn around the bottom inch of the handle in a fan shape, securing with glue at the top of the “bristles” and trimming the ends evenly
- Place the broom into one of the snowman’s twig arms, securing with a small dab of glue or a few stitches
Step 9: Finishing Touches
- Weave in all loose ends
- Gently shape the hat and scarf for a natural, cozy look
- Optional: add small white “snowflake” embroidery details to the scarf for extra winter charm
Tips for the Perfect Amigurumi Snowman
- For a frostier look, use a sparkly or metallic white yarn for the body
- This pattern is easily adapted into a snowman family by making different sizes — stack a small one on top of a larger one for a “snowman couple” display
- A tiny pom-pom on top of the hat adds extra charm and texture
Thank you so much for crafting this cozy little snowman with us today! We hope it brings warmth, charm, and a touch of winter magic to your home this season. For more free patterns and creative inspiration, visit us at Inspire & Create | Bringing Imagination to Life. Happy hooking, and see you in the next tutorial! ⛄❄️
amigurumi snowman pattern, free crochet snowman, winter amigurumi, Christmas crochet pattern, crochet snowman tutorial, amigurumi holiday decor, easy crochet snowman, handmade snowman gift