Bold Chrome Almond Nails with Dark Moody Vibes: Step-by-Step Press-On Nail Tutorial
Want a striking, editorial-style manicure? This step-by-step guide shows you how to prep, apply, and finish deep red almond-shaped nails with a glossy mirror chrome effect using press-on/false nails. Keywords: chrome nails tutorial, red almond nails, press on nails how to, mirror finish manicure, moody nail art.
Bu Yazımızda Neler Var :
Welcome to Inspire & Create! 💅
Hi there, lovely reader! We’re so happy to have you back for another nail art tutorial. Today’s look is dramatic and luxurious — deep red almond nails with a striking mirror chrome finish, perfect for a bold statement. Let’s get started!
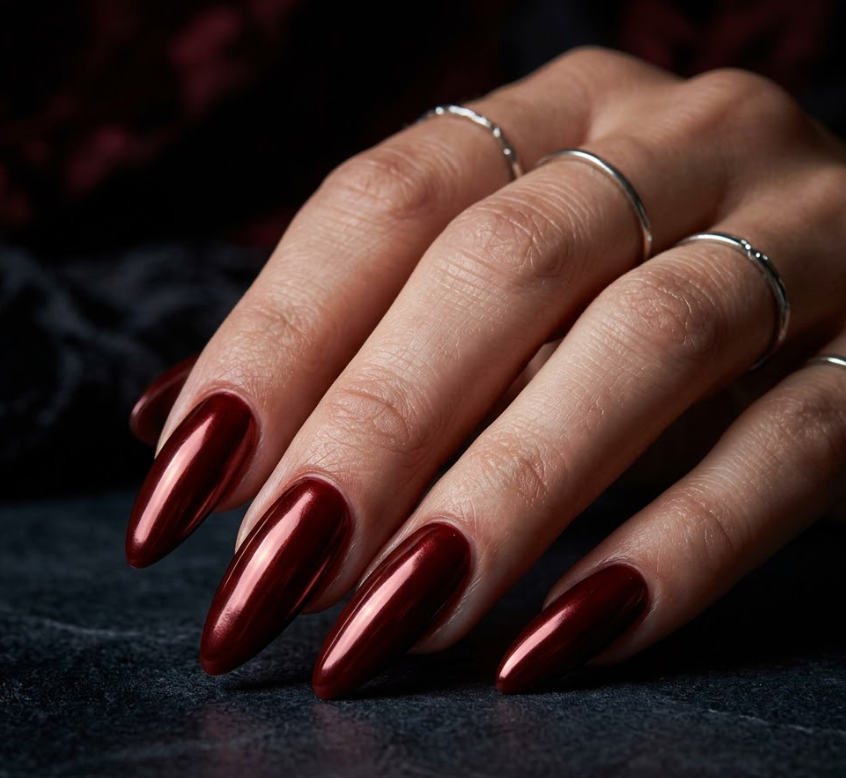
Deep Red Chrome Almond Nails: Full Application Tutorial
What You’ll Need
Materials
- False/press-on nails in almond shape, your size
- Nail prep solution (isopropyl alcohol, 70-99%)
- Nail buffer/file
- Cuticle pusher
- Primer (acid-free bonding primer)
- Nail glue or gel adhesive
- Base coat (gel)
- Deep red gel polish
- Chrome powder (red-toned or clear chrome over red)
- Chrome application sponge or soft silicone applicator
- No-wipe top coat (essential for chrome)
- Regular (wipeable) top coat
- UV/LED nail lamp
- Lint-free wipes
- Cuticle oil
Skill level: Intermediate
Time required: 50-70 minutes
Step 1: Prep Your Natural Nails
- Wash and dry your hands thoroughly
- Push back cuticles gently with a cuticle pusher
- Lightly buff the surface of each nail to remove shine and create a slightly textured surface for better adhesion
- Wipe each nail with isopropyl alcohol on a lint-free pad to remove oils and debris
Step 2: Apply Primer
- Apply a thin coat of acid-free bonding primer to each nail, avoiding the cuticle and skin
- Allow to air dry for 30-60 seconds — do not cure under UV light
- This step is essential for chrome application, as any lifting will disrupt the mirror finish
Step 3: Size and Shape Your Almond Nails
- Select the correct almond-shaped press-on for each finger
- File the sides slightly if needed to match your natural nail width
- Lay out all 10 nails in order for quick access
Step 4: Apply False Nails
- Apply a thin layer of gel adhesive or nail glue to your natural nail
- Press the almond-shaped false nail on at a slight angle, starting near the cuticle and pressing down toward the tip
- If using gel adhesive, cure under the UV/LED lamp for 30-60 seconds
- If using glue, hold for 15-20 seconds per nail
- Repeat for all 10 nails
Step 5: Shape and File
- File the edges of each nail into a smooth, elongated almond shape — tapering the sides to a rounded point at the tip
- Buff any seams where the false nail meets the natural nail for a seamless surface
Step 6: Apply Base Coat
- Apply a thin, even layer of gel base coat to each nail
- Cure under the UV/LED lamp for 30-60 seconds
- This creates a smooth foundation for the red polish and ensures a flawless chrome finish
Step 7: Apply Deep Red Gel Polish
- Apply a thin, even first coat of deep red gel polish, capping the free edge of the nail
- Cure under the UV/LED lamp for 30-60 seconds
- Apply a second coat for full, rich opacity — deep reds often need two coats to avoid streaking
- Cure again for 30-60 seconds
Step 8: Apply No-Wipe Top Coat (Critical for Chrome!)
- Apply a thin, even layer of no-wipe top coat over the red polish
- Cure under the UV/LED lamp for 30-60 seconds
- Do not wipe away the tacky layer — this sticky residue is what allows the chrome powder to adhere
Step 9: Apply Chrome Powder
- Using a chrome application sponge or soft silicone-tipped applicator, pick up a small amount of chrome powder
- Gently rub the powder onto the tacky nail surface in circular motions with light pressure
- Continue until the entire nail develops a mirror-like, reflective finish
- Work on one nail at a time so the tacky layer doesn’t dry out before applying the powder
- Remove excess powder with a soft, dry brush
Step 10: Seal with Top Coat
- Apply a final layer of regular (wipeable) top coat over each nail to protect and seal the chrome finish
- Cure under the UV/LED lamp for 60 seconds
- Wipe each nail with a lint-free pad and alcohol to remove any tacky residue, revealing the full glossy mirror shine
Step 11: Finishing Touches
- Apply cuticle oil around the nail edges and massage into the surrounding skin
- Wash hands gently to remove any remaining powder dust
- Admire the bold, mirror-like chrome finish on your deep red almond nails!
Tips for Long-Lasting Wear
- Chrome finishes are delicate — avoid excessive friction or scratching, as this can dull the mirror effect over time
- Always use a no-wipe/tacky top coat for the chrome step; regular top coat won’t allow the powder to adhere properly
- If the chrome looks uneven, apply more powder to dull areas before sealing — you can layer it for full coverage
- Avoid hot water exposure for the first few hours after application to let the gel layers fully harden
- For photos, a dark moody background (deep gray, black, or charcoal fabric) makes the chrome finish reflect dramatically and pop visually
Thank you so much for joining us for this glamorous chrome nail tutorial! We hope this bold red almond look adds some serious shine and drama to your nail collection. For more step-by-step beauty and craft tutorials, visit us at Inspire & Create | Bringing Imagination to Life. Until next time, happy painting! ❤️💅
Keywords: chrome nails tutorial, red almond nails, press on nails how to, mirror finish manicure, chrome powder application, gel nails at home, DIY nail art, almond shape nails tutorial, moody nail aesthetic