Festive Amigurumi Reindeer: Free Crochet Pattern for Christmas Decor
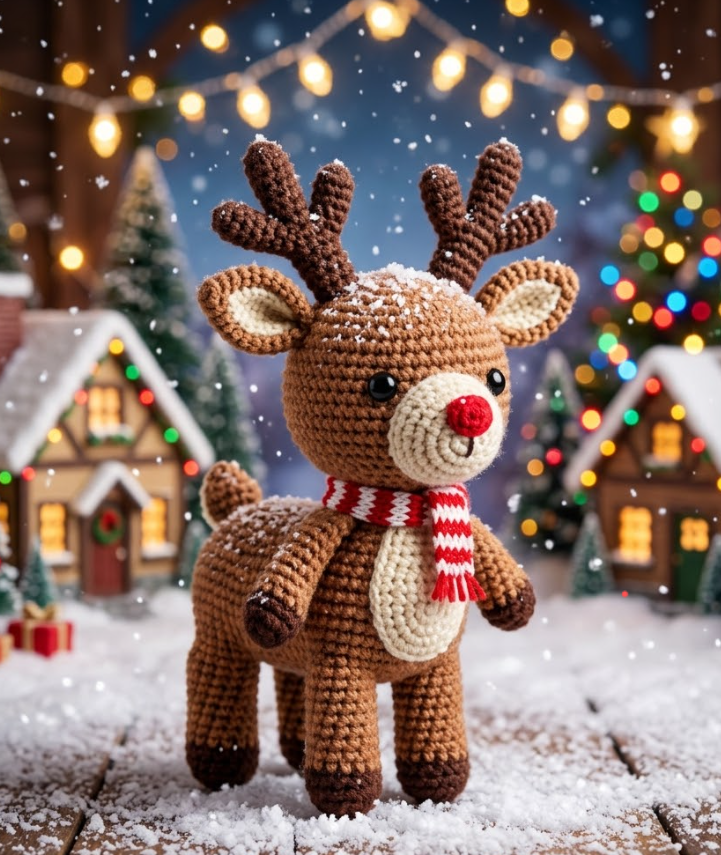
Crochet your own adorable amigurumi reindeer with this free step-by-step pattern! Featuring tiny antlers and a sweet winter pose, this pattern is perfect for holiday decor, gifts, and Christmas displays. Keywords: amigurumi reindeer pattern, free crochet reindeer, Christmas amigurumi, beginner amigurumi pattern.
Bu Yazımızda Neler Var :
Welcome to Inspire & Create! 🧶
Hi there, festive maker! We’re so happy to have you back for another fun project. Today’s creation brings all the holiday cheer — a sweet little reindeer ready to join your Christmas decorations. Let’s get hooking!
How to Crochet an Amigurumi Reindeer: Step-by-Step Pattern
What You’ll Need
Materials
- Brown or tan yarn (body, head, legs)
- Cream or white yarn (belly, face patch, tail tip)
- Red yarn (nose, optional scarf accent)
- Black or dark brown yarn (antlers, hooves)
- 3.5mm crochet hook
- Polyester fiberfill stuffing
- Safety eyes
- Yarn needle
- Black embroidery thread (mouth, details)
- Small piece of wire or pipe cleaner (for antler support)
Skill level: Beginner to intermediate
Finished size: Approximately 5-6 inches tall
Step 1: Crochet the Head (Brown Yarn)
- Round 1: 6 sc in magic ring (6)
- Round 2: inc in each st (12)
- Round 3: sc, inc repeat (18)
- Round 4: sc 2, inc repeat (24)
- Round 5: sc 3, inc repeat (30)
- Rounds 6-9: sc around (30) — 4 rounds even
- Insert safety eyes around round 7, spaced 8-9 sts apart
- Round 10: sc 3, dec repeat (24)
- Round 11: sc 2, dec repeat (18)
- Stuff firmly
- Round 12: sc, dec repeat (12)
- Round 13: dec around (6)
- Fasten off, close hole
Step 2: Crochet the Snout (Cream Yarn)
- Round 1: 6 sc in magic ring (6)
- Round 2: inc around (12)
- Rounds 3-4: sc around (12) — 2 rounds
- Stuff lightly, sew onto the lower-front of the face
- Switch to red yarn and embroider (or crochet a small separate red circle for) the classic round nose at the tip of the snout
- Embroider a small black mouth line below the nose
Step 3: Crochet the Ears (Brown Yarn, Make 2)
- Round 1: 6 sc in magic ring (6)
- Round 2: inc around (12)
- Round 3: sc around (12)
- Flatten into a slight point and sc closed
- Sew to the top of the head, angled outward and slightly forward
Step 4: Make the Antlers (Black or Dark Brown Yarn, Make 2)
Antlers benefit from a wire base so they hold their branching shape.
- Main branch: ch 8, sl st back along the chain to reinforce
- Insert a piece of wire or pipe cleaner through the chain before or while crocheting for structure
- Side branches: at 2-3 points along the main branch, work a smaller ch 3-4 with sl st back, attaching at an angle to mimic antler points
- Repeat for the second antler, making sure both are similar but not identical (antlers are naturally a bit asymmetrical)
- Sew the base of each antler to the top of the head, positioned just behind the ears
Step 5: Crochet the Body (Brown Yarn)
- Round 1: 6 sc in magic ring (6)
- Round 2: inc around (12)
- Round 3: sc, inc repeat (18)
- Round 4: sc 2, inc repeat (24)
- Round 5: sc 3, inc repeat (30)
- Rounds 6-12: sc around (30) — 7 rounds even
- Round 13: sc 3, dec repeat (24)
- Round 14: sc 2, dec repeat (18)
- Stuff firmly
- Round 15: sc, dec repeat (12)
- Round 16: dec around (6)
- Fasten off, close hole, sew to head
Step 6: Add the Cream Belly Patch
- Ch 2, work an oval shape in rows: 3 sc in 2nd ch from hook, inc each end every other row up to about 10 sts wide, work even 4-5 rows, then dec back to a point
- Sew onto the front of the body from chest to belly
Step 7: Crochet the Legs (Brown Yarn, Make 4)
- Round 1: 6 sc in magic ring (6)
- Round 2: inc around (12)
- Rounds 3-8: sc around (12) — 6 rounds
- Switch to black for the last round (hoof detail): sc around (12)
- Stuff firmly, flatten and sc closed
- Sew two legs to the front and two to the back of the body so the reindeer stands
Step 8: Crochet the Tail (Cream Yarn, Small)
- Round 1: 6 sc in magic ring (6)
- Round 2: sc around (6)
- Stuff lightly, sc closed
- Sew to the back of the body
Step 9: Optional Scarf Accent (Red Yarn)
- Ch 25, sc in 2nd ch from hook and across, work 2-3 rows even
- Fasten off, add fringe to both ends with the fringe/latch-hook technique
- Wrap around the neck where the head meets the body and tack in place with a few stitches
Step 10: Finishing Touches
- Weave in all loose ends
- Gently shape the antlers into a natural branching position
- Optional: add a tiny jingle bell to the scarf or collar area for extra holiday charm
Tips for the Perfect Amigurumi Reindeer
- For a Rudolph-inspired look, make the nose a bit larger and use bright red yarn; for a classic woodland reindeer, keep the nose small and brown-toned
- Wire-supported antlers can be gently bent into different poses for variety across a herd of reindeer
- This pattern pairs beautifully with the snowman and gnome patterns for a coordinated holiday display
Thank you so much for crafting this festive little reindeer with us today! We hope it brings warmth and holiday cheer to your home this season. For more free patterns and creative inspiration, visit us at Inspire & Create | Bringing Imagination to Life. Happy hooking, and see you in the next tutorial! 🦌🎄
Keywords: amigurumi reindeer pattern, free crochet reindeer, Christmas amigurumi, beginner amigurumi pattern, crochet reindeer tutorial, amigurumi holiday decor, easy crochet reindeer, handmade Christmas gift