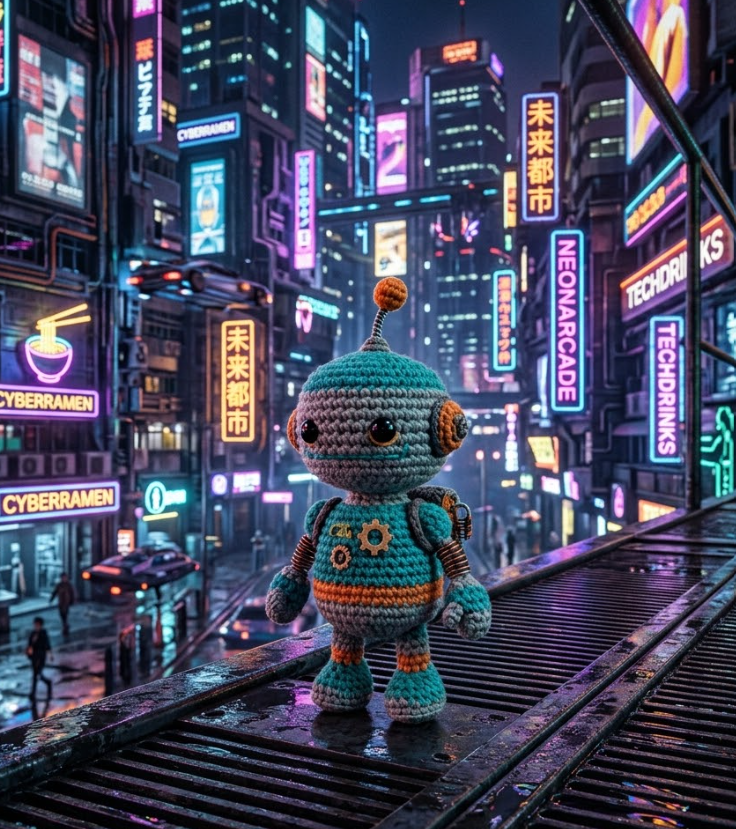
Futuristic Amigurumi Robot: Free Crochet Pattern with Neon Vibes
Crochet your own amigurumi robot with this free step-by-step pattern! This pattern shows how to make a cute little robot figure with simple geometric shapes and fun color-block details — perfect for tech lovers, gamers, or modern home decor. Keywords: amigurumi robot pattern, free crochet robot, geometric amigurumi, beginner amigurumi pattern.
Bu Yazımızda Neler Var :
Welcome to Inspire & Create! 🧶
Hi there, creative maker! We’re so excited to have you back for another fun project. Today’s creation has a fun modern twist — a tiny robot friend with a glowing personality. Let’s power up our hooks and get started!
How to Crochet an Amigurumi Robot: Step-by-Step Pattern
What You’ll Need
Materials
- Gray or silver yarn (body, head, limbs)
- Bright accent yarn — blue, pink, or green (screen/face, buttons, antenna tip)
- Black yarn (screen border, joints)
- Yellow or orange yarn (small details, optional)
- 3.5mm crochet hook
- Polyester fiberfill stuffing
- Yarn needle
- Small piece of cardboard or stiff felt (for flat screen panel, optional)
- Pipe cleaner or wire (for antenna)
Skill level: Beginner to intermediate
Finished size: Approximately 5 inches tall
Step 1: Crochet the Head (Gray Yarn) — Cube-Like Shape
To get that boxy robot look, we’ll crochet a shape that’s worked taller with fewer increases, then flattened slightly at assembly.
- Round 1: 6 sc in magic ring (6)
- Round 2: inc in each st (12)
- Round 3: sc, inc repeat (18)
- Round 4: sc 2, inc repeat (24)
- Rounds 5-12: sc around (24) — 8 rounds even (this builds the height for a more cube-like silhouette)
- Round 13: sc 2, dec repeat (18)
- Stuff firmly, packing corners gently if shaping a flatter cube
- Round 14: sc, dec repeat (12)
- Round 15: dec around (6)
- Fasten off, close hole
Step 2: Crochet the Screen/Face Panel (Bright Accent Yarn)
- Ch 2, work a square-ish shape in rows of sc: chain 8, work 7 sc across, then work even for 6-7 rows to form a roughly square panel
- Fasten off
- Optional: cut a small piece of cardboard or stiff felt the same size and sandwich it inside, or simply sew the panel flat onto the head for a screen look
- Sew the panel onto the front of the head
Step 3: Add Screen Border (Black Yarn)
- With black yarn, work a row of sc around the edge of the bright accent panel for a clean “screen frame” border
- Embroider simple geometric “eyes” onto the panel — two small squares, circles, or a single horizontal line for a more robotic look
Step 4: Crochet the Body (Gray Yarn) — Box Shape
- Round 1: 6 sc in magic ring (6)
- Round 2: inc around (12)
- Round 3: sc, inc repeat (18)
- Round 4: sc 2, inc repeat (24)
- Round 5: sc 3, inc repeat (30)
- Rounds 6-14: sc around (30) — 9 rounds even (taller body for a box-like shape)
- Round 15: sc 3, dec repeat (24)
- Round 16: sc 2, dec repeat (18)
- Stuff firmly
- Round 17: sc, dec repeat (12)
- Round 18: dec around (6)
- Fasten off, close hole, sew to head
Step 5: Add Body Details (Bright Accent + Black Yarn)
- Embroider or appliqué small squares/circles down the front of the body in bright accent colors to look like buttons or control panels
- Add a row of black sc trim around the bottom edge of the body for a “base” detail
Step 6: Crochet the Arms (Gray Yarn, Make 2) — Articulated Look
- Round 1: 6 sc in magic ring (6)
- Rounds 2-3: sc around (6) — 2 rounds
- Switch to black for 1 round (joint detail): sc around (6)
- Switch back to gray:
- Rounds 5-8: sc around (6) — 4 rounds
- Stuff lightly, flatten and sc closed
- Sew to sides of body
Step 7: Crochet the Legs (Gray Yarn, Make 2) — Articulated Look
- Round 1: 6 sc in magic ring (6)
- Round 2: inc around (12)
- Rounds 3-4: sc around (12) — 2 rounds
- Switch to black for 1 round (joint detail): sc around (12)
- Switch back to gray:
- Rounds 6-9: sc around (12) — 4 rounds
- Stuff firmly, flatten and sc closed
- Sew to bottom of body
Step 8: Make the Antenna
- Cut a small piece of pipe cleaner or wire, about 1.5 inches long
- Wrap one end with bright accent yarn to create a small ball/bobble shape, securing with a dab of glue
- Insert the other end into the top of the robot’s head, securing with glue or a few stitches
Step 9: Finishing Touches
- Weave in all loose ends
- Optional: add a few silver sequins or small metallic beads to the body for extra “tech” sparkle
- Adjust antenna angle as desired
Tips for the Perfect Amigurumi Robot
- For a more squared-off look, you can lightly press the stuffed pieces between your hands before sewing to flatten the rounded edges slightly
- Try working the body and head in two different metallic or pastel shades for a fun color-block robot design
- This pattern is great for using leftover bright yarn scraps for the screen and button details
Thank you so much for building this little robot with us today! We hope it brings a fun, futuristic touch to your shelf or desk setup. For more free patterns and creative inspiration, visit us at Inspire & Create | Bringing Imagination to Life. Happy hooking, and see you in the next tutorial! 🤖💡